
Kyle and I completed the Torment-Forbidden Traverse in a 23-hour single push on August 3rd, 2019. After climbing the South Ridge of Mt. Torment, we traversed the mile-long ridge on glaciers, snow and (mostly) rock to the West Ridge of Forbidden Peak, the highlight of the day. This traverse is one of the most sought-after routes in the Cascades due to its moderate grade, length, and position. The climbing is never difficult, but there is a massive amount of variable terrain that must be covered efficiently to get it done in a day!
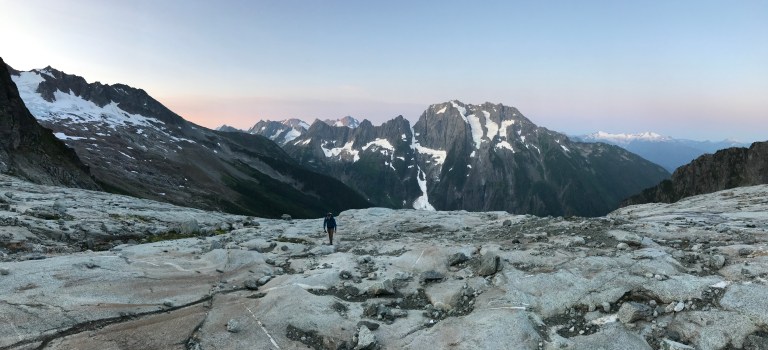
After leaving the trailhead at 2:30am, Kyle and I made good time up the unmaintained trail into Boston Basin, arriving at the slabs under the Taboo Glacier right at dawn. Without a cloud in the sky, Kyle and I were feeling stoked and confident. I strapped aluminum crampons to my approach shoes while simultaneously finishing a sandwich and drinking water. I already knew that today would be a LONG day, and staying on top of nutrition and hydration was going to be key to success.
Neither Kyle or I spent much time researching beta for this climb – in fact, we only had a very vague description of the route. We’d also done no research at all on the routes on Mt Torment. We debated between the two obvious routes that could be accessed from this glacier, the Southeast Face and South Ridge. Once we were high on the Taboo Glacier, the notch that marks the South Ridge of Torment was obvious so we decided to give it a go.
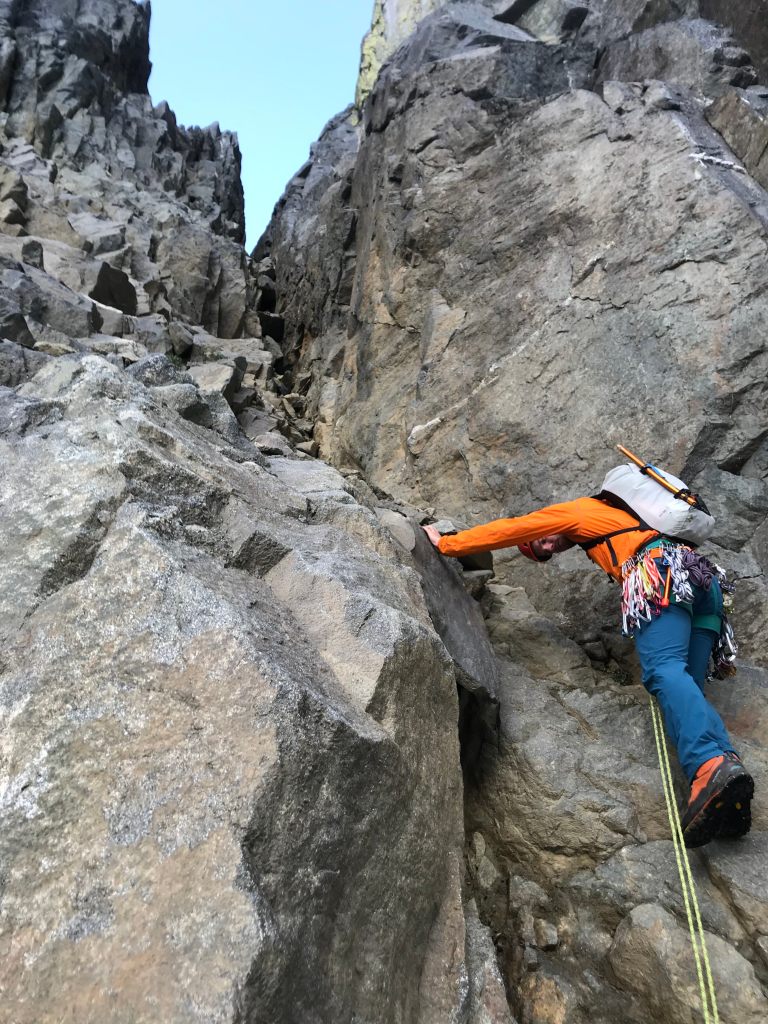
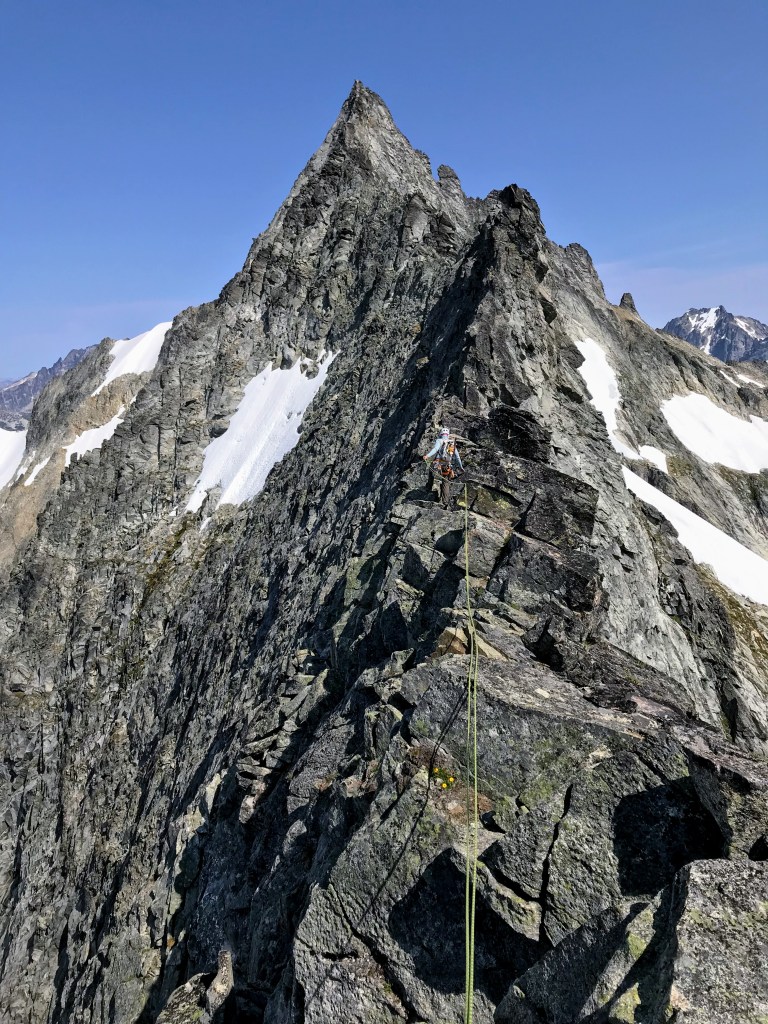
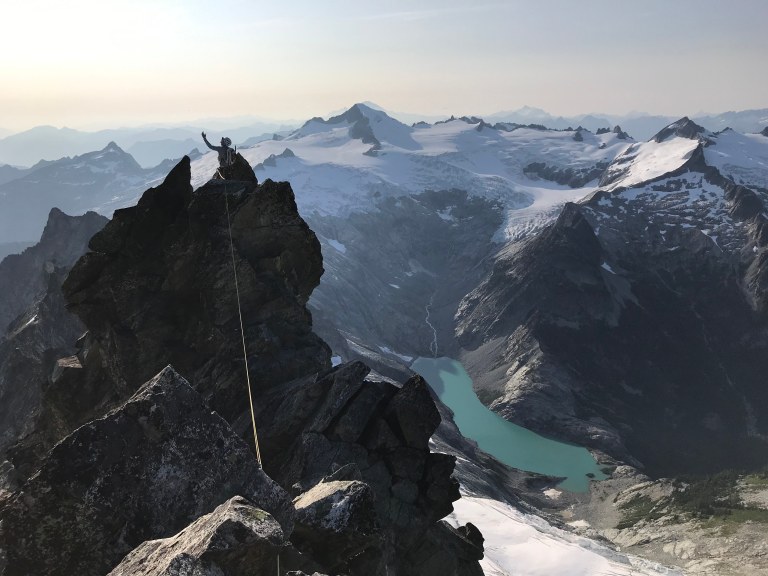
Kyle took the lead and started a nice simulclimbing block that got us established on the South Ridge of Mt. Torment. With no good route description, we got a little off route and climbed some 5.8 to gain the ledges on the Western side of the ridge. However, the route was obvious from here, and we swapped leads up three more simulclimbing blocks to the summit of Mt. Torment. There was plenty of loose rock on this route, so careful testing of holds was needed – this became a theme of the day!

Kyle took point as we simulclimbed straight down the Southeast Face of Mt. Torment until we found a good path to the next notch in the ridge, which we knew that we needed to cross through. Along the way, we were passed by a strong soloist who was moving extremely fast. I’m always so impressed when I come across these types in the hills, moving quickly and confidently in terrain that they have mastered.

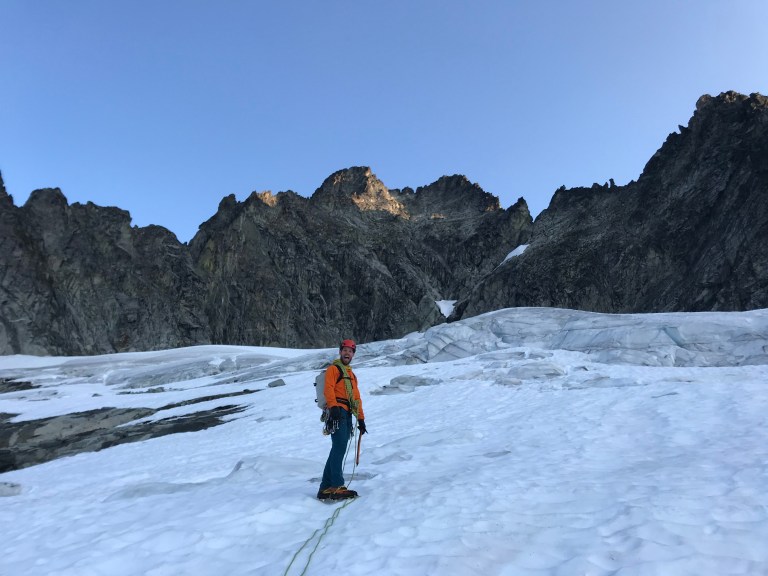
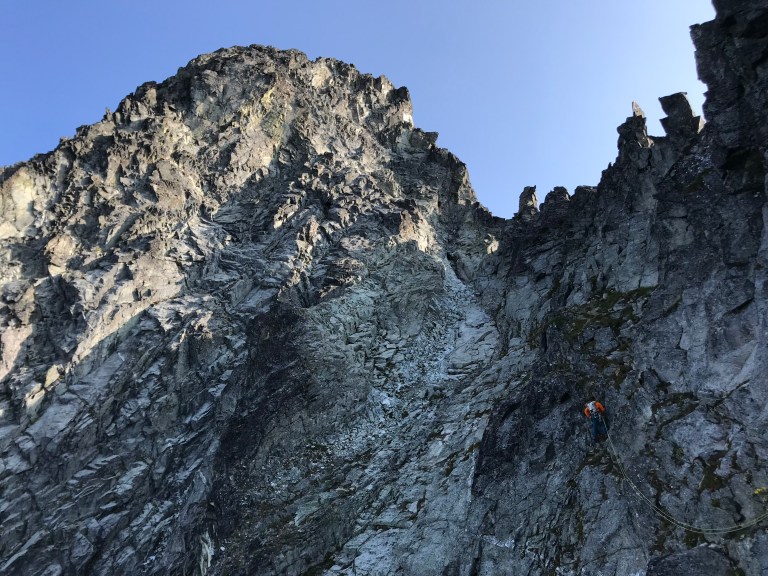
A slightly overhanging rappel dropped Kyle and I onto the Forbidden Glacier, which flows off of the North side of the ridge. there was a massive Bergschrund about 30m below us, which meant that we would need to rappel over it. We saw an in-situ rappel anchor to skier’s left, but reaching it would require a very dangerous traverse over an unstable ice feature. After some debating and walking back and forth, we went skier’s right to find a rappel anchor on the rock of the next pinnacle on the ridge. We had to drop inside the moat between the glacier and the rock, traversing East for a few hundred feet, and then climb across the very precarious lip of the glacier. On one side was the very steep (>60°) glacier, on the other was a long fall into the moat – this was not a place to fall off. Kyle did a hand traverse across this section while frontpointing on the steep glacier. I chose to au cheval the lip of the moat.
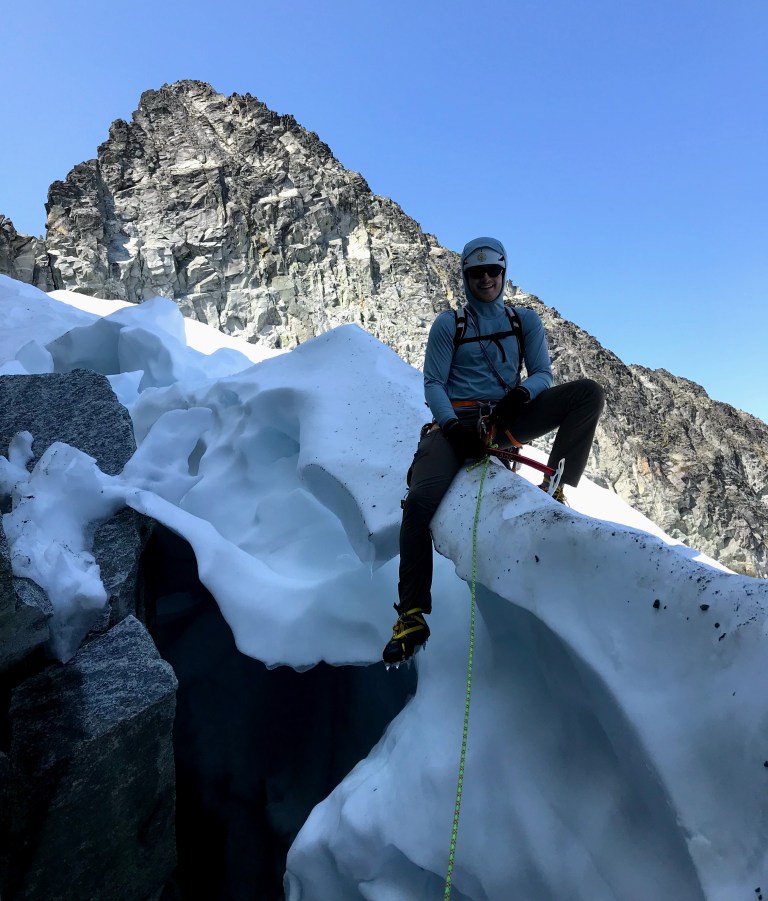
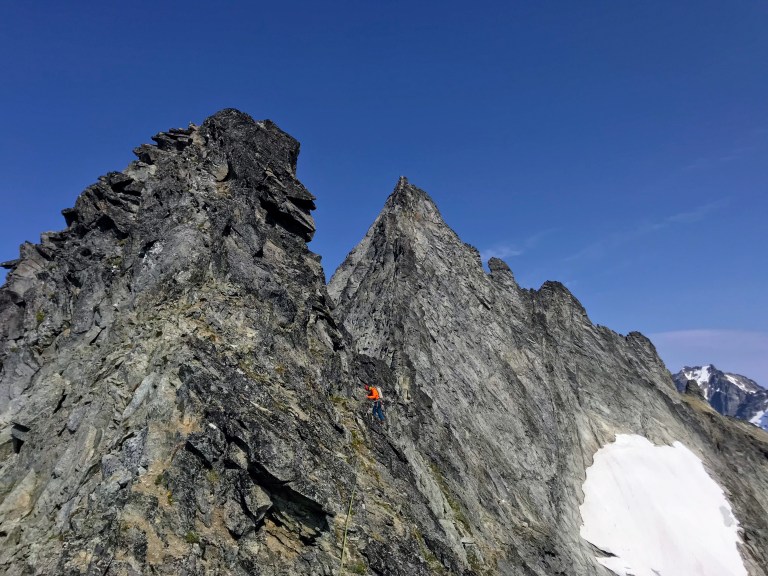
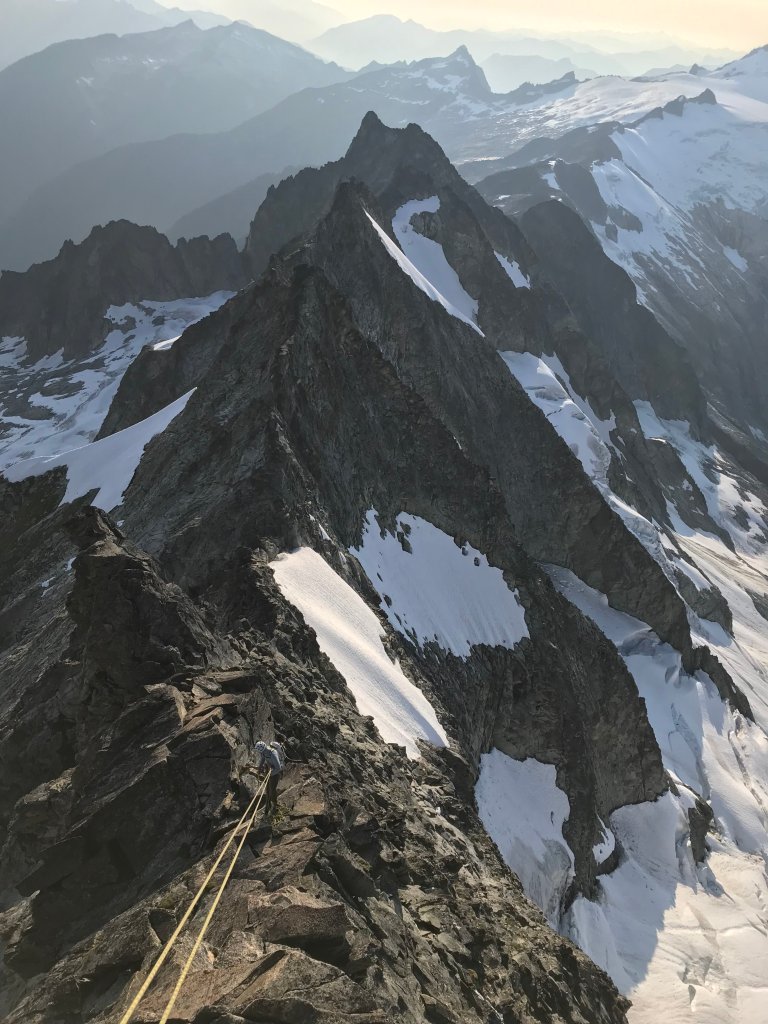
We traversed on the Forbidden Glacier for a time until we regained the rock on the ridge. Several simulclimbing blocks with some fun but loose climbing brought us to the part of the traverse I had been dreading: the steep snow traverse. This part of the route requires a traverse on 50° snow/ice slope. There is a bypass route mentioned in other trip reports, but there were old boot prints in the slope, so we decided to give the traverse a go.

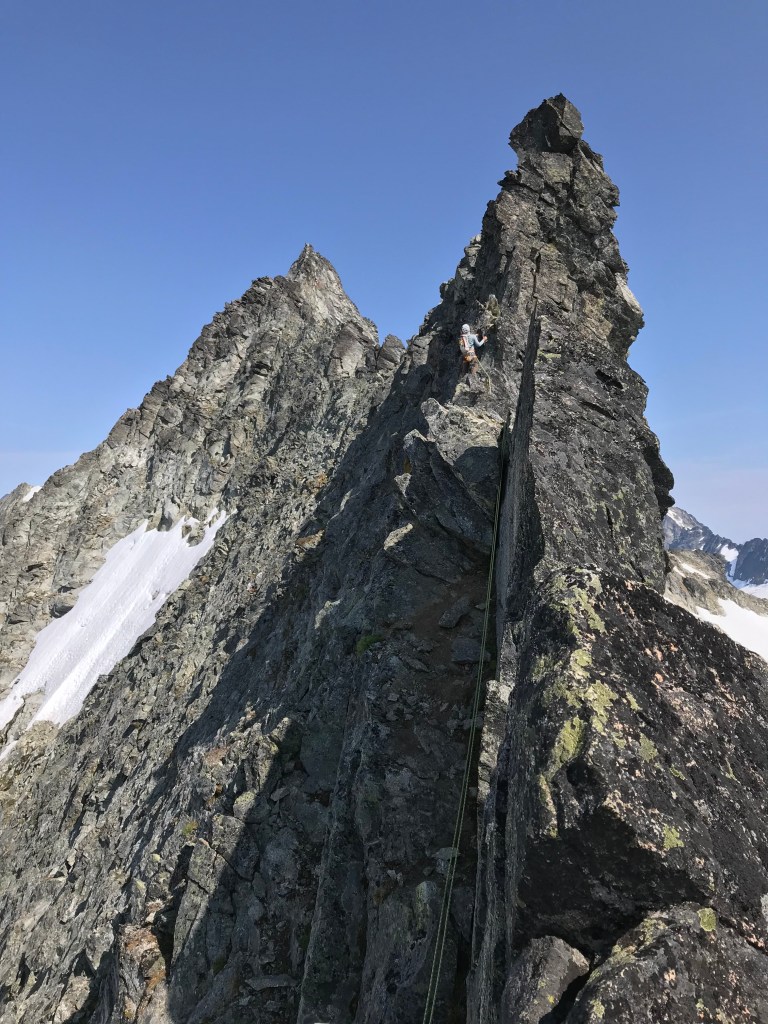
This type of terrain would be an easy solo if I had two ice tools, full-shank boots and steel crampons. Instead, I had one ultralight mountaineering axe and worn-down aluminum crampons strapped to my approach shoes. An unchecked fall on this section would send you shooting over cliffs at mach speed – not something that I was interested in experiencing. Kyle volunteered to lead us across in his slightly sturdier footwear, and lead two pitches across and up to the next notch in the ridge. Belayed by Kyle off of a T-slotted ice axe, I made my way across the snow face, taking meticulous care with every foot and axe placement.
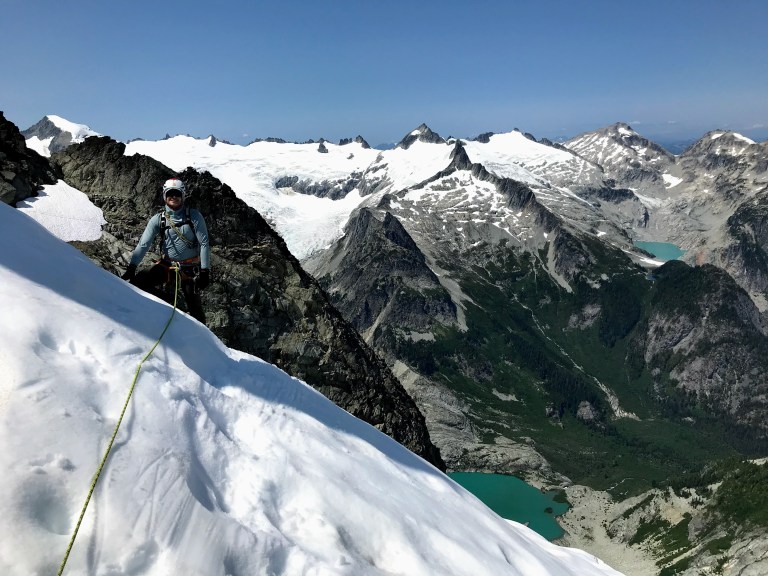
Finishing the steep snow traverse was a big relief – beyond this point, we should be simulcimbing easy rock to the West Ridge Notch on Forbidden Peak. We moved very quickly from this point forward – so much fun to move through the mountains like this!
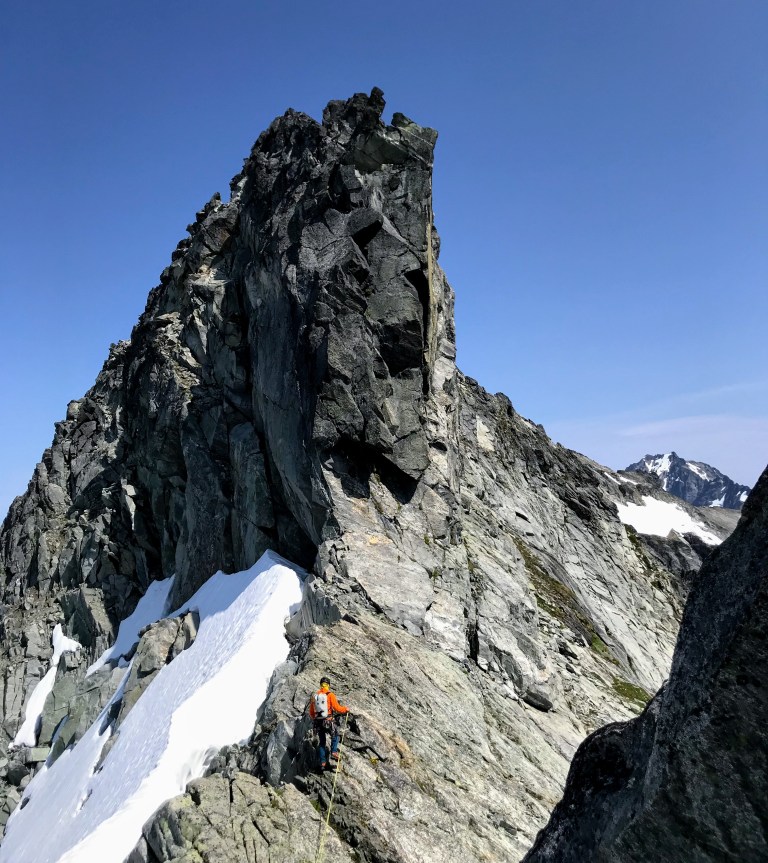
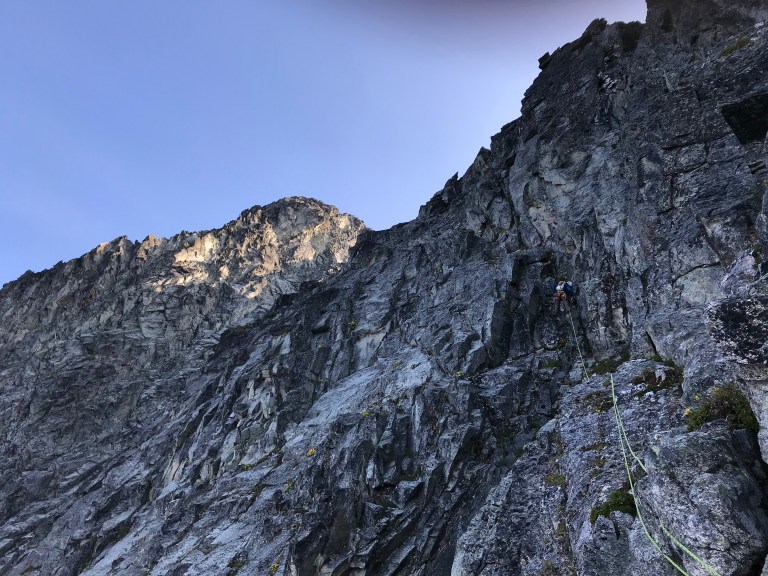
Finally, we arrived at the notch at the base of Forbidden’s West Ridge. It was 4:30pm. Knowing that we only had four more hours of daylight, it was time to move as efficiently as possible to get up and down Forbidden before darkness fell. With my previous experience on this route in 2018, I took point and lead the majority of the ridge. I quickly found myself at the crux slab section. I’d heard that climbing the face was better than climbing the dihedral, which I had done last year. I committed to the face, which required a few slab moves before I found good holds. I felt that the face was the same difficulty as the dihedral, but consisted of better climbing.
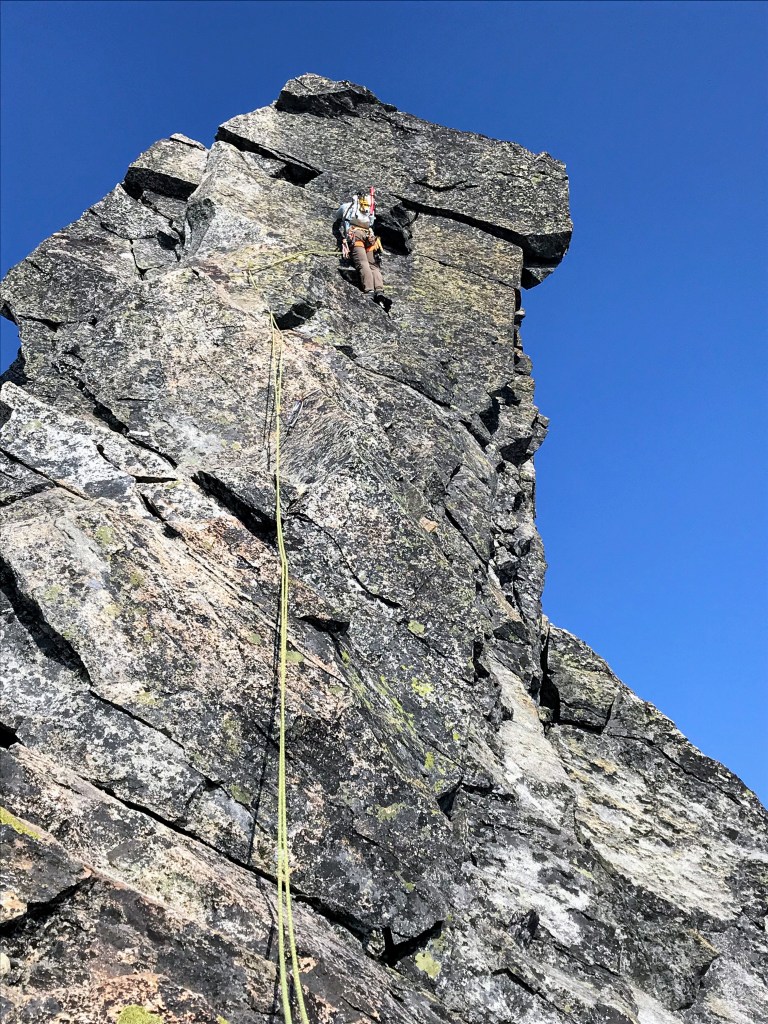
After 4 simulclimbing blocks and ninety minutes, Kyle and I were on the summit of Forbidden Peak. I felt no release here, knowing that we had a long and complicated descent to reach the rock slabs below the peak. After a short break on the summit, I started leading us back down the ridge.
I’ll keep this part short, more for my benefit than yours. We descended the West Ridge to the notch with three rappels and downclimbing. Next, Kyle took charge and went to work on 7 rappels down the Cat Scratch gullies until we landed on the snowfields below Forbidden’s South Face. Twilight faded as I coiled the rope and turned on my headlamp. The snow here was steep and hard enough to be dangerous if either of us were to fall, so we weren’t home free yet. Soon, we were casually strolling down the now-mellow snowfield, chatting about life and what we were going to eat for dinner at the cars. I’d finished my last bit of food at the West Ridge notch.
We navigated down the slabs, taking extra care – I’d watched a man die here after a fall last year. I maintained focus until we found the well-established trail and relaxed a bit. A few more hours of grinding down the trail finally found us at the cars at 1:15am, over 23 hours after leaving. The last couple of hours to the car were very difficult, with both of us were walking silently except for groans as we scrambled over fallen trees. I slammed down a sandwich paired with a horchata protein shake before slipping comfortably into unconsciousness in Kyle’s van, satisfied that we’d gotten the job done safely, efficiently and confidently.
Strategy Notes
This is a cool objective and I can fully appreciate how a bivy on this ridge would be an incredible experience. However, I prefer to carry the lightest pack possible and felt that going in a single push was very reasonable. To do this route in a day, you need to be able to do the following quickly and effectively:
- Simulclimb loose rock up to 5.6
- Locate and utilize belay anchors and terrain belays
- Transition from simulcimbing to rappelling
- Climb steep, exposed glacier terrain comfortably
Gear Notes
We brought a single rack .2-2, a few offset nuts, slings, two ice screws and a 60m twin rope. We never used the ice screws. You need a 60m rope for the rappels on this route – we folded the rope in half when simulclimbing. Approach shoes and aluminum crampons were light, but were barely adequate for the glacier/snow sections on the North side of the Ridge.

One more great post and the ridge along the way to Forbidden Peak looks breathtaking.
Also, nice to see how the Cruz looks like while you climb it.
LikeLike